Installation
Simplicity in a few steps
Simplicity of installation is a unique feature of GolfDren bunker liners, which will enable the customer to save both time and costs in the future. The installation involves several steps requiring only mechanical tools and equipment. GolfDren mats can be laid gradually, even when the implementation plans are disrupted by bad weather or unforeseen events.
We aim to provide all customers with product trainings to enable independent installation only supervised by an expert.
Installation Process

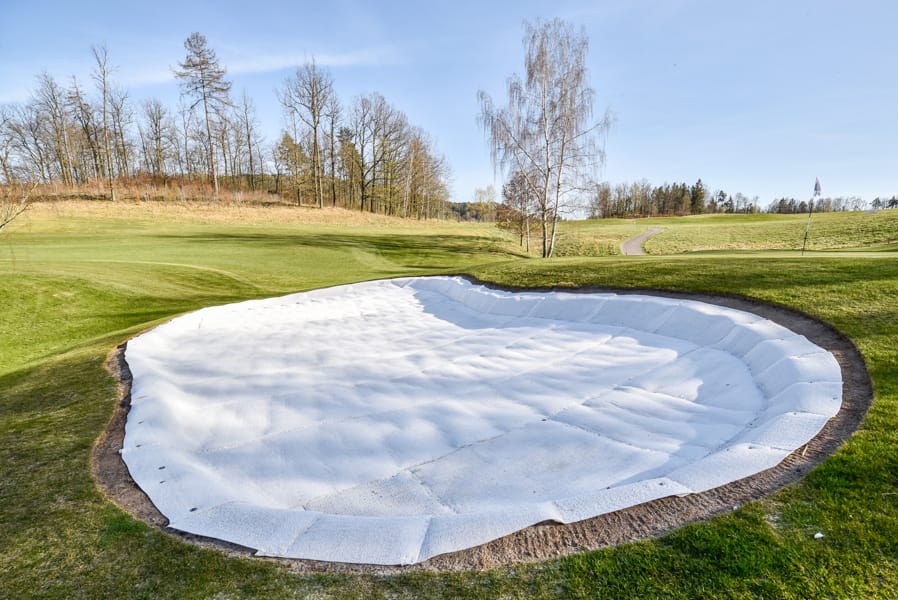
Unpacking, cutting and saving individual segments
Individual segments are cut according to the dimensions of the bunker and placed inside until fully covered.
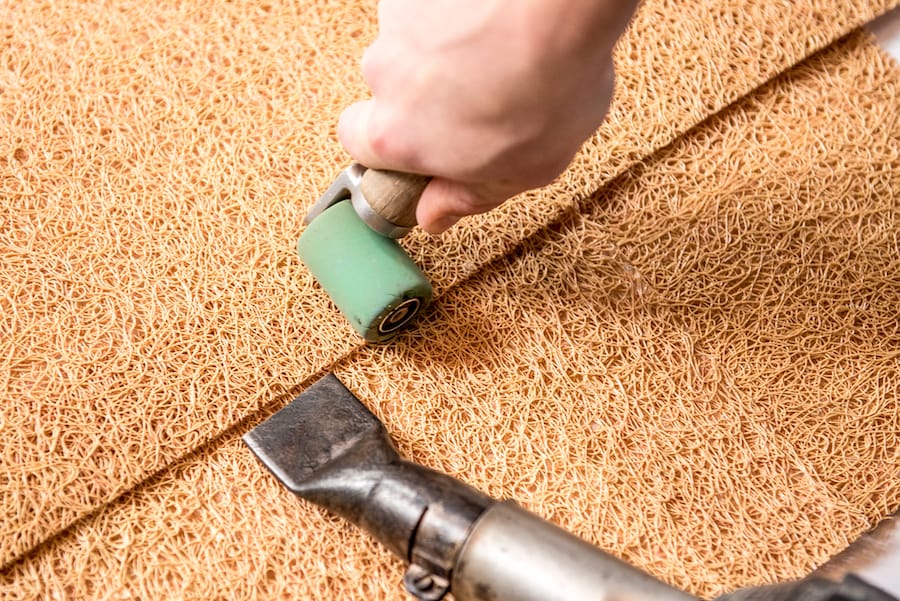
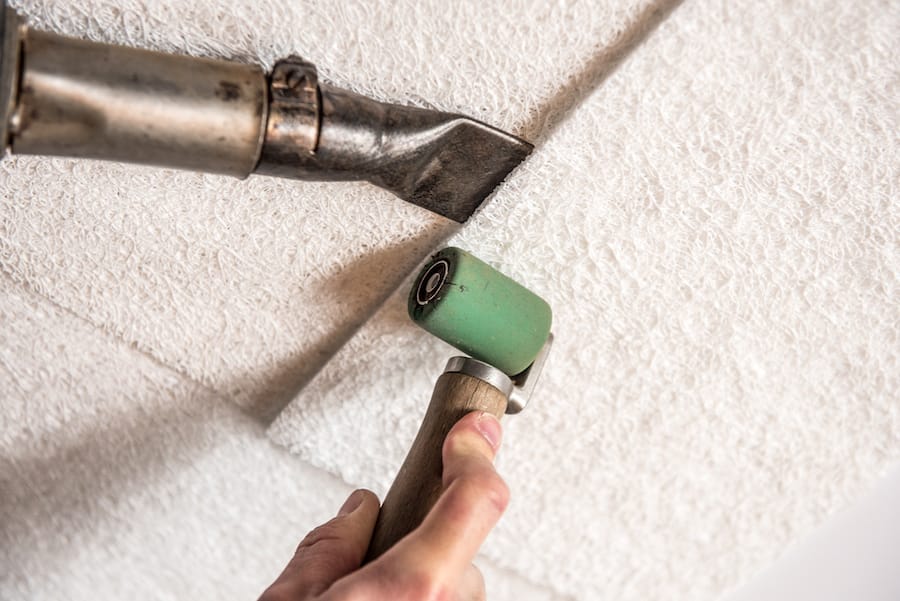
Welding in full-area protection
Strips of the mat are welded together using a heat gun. This process creates a comprehensive protection of the bunker.
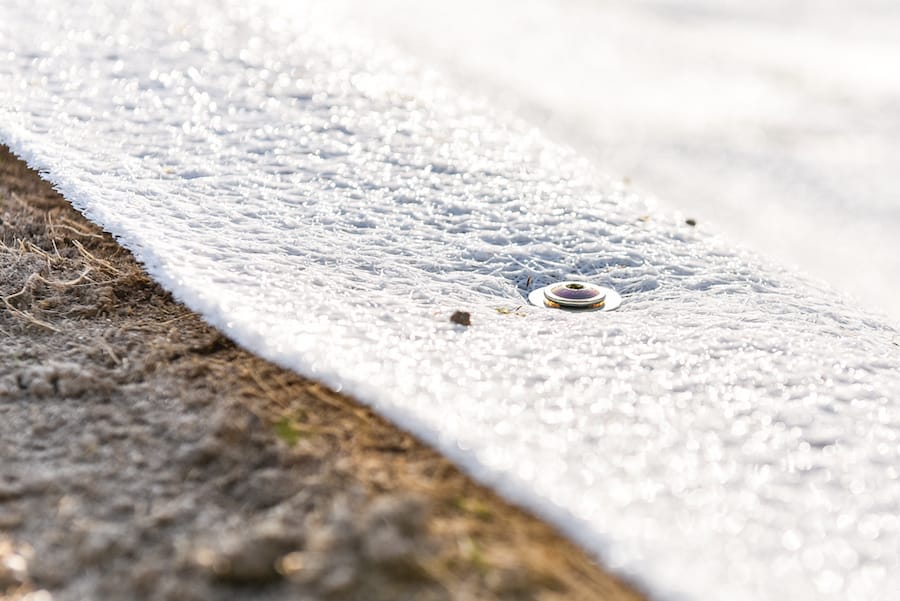

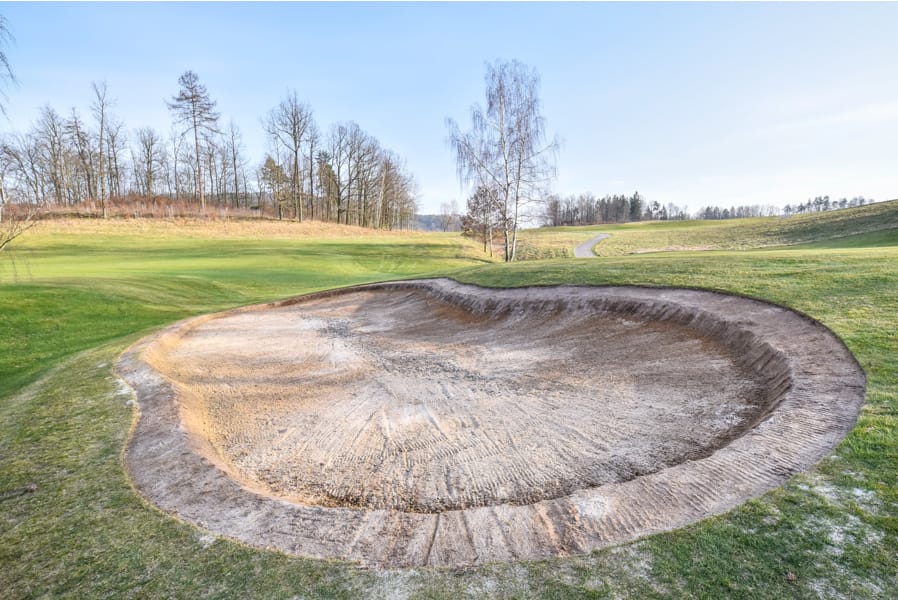
Attaching the whole to the ground
Attachment to the ground with special nails. This step ensures the absolute immobility of the bunker liner.